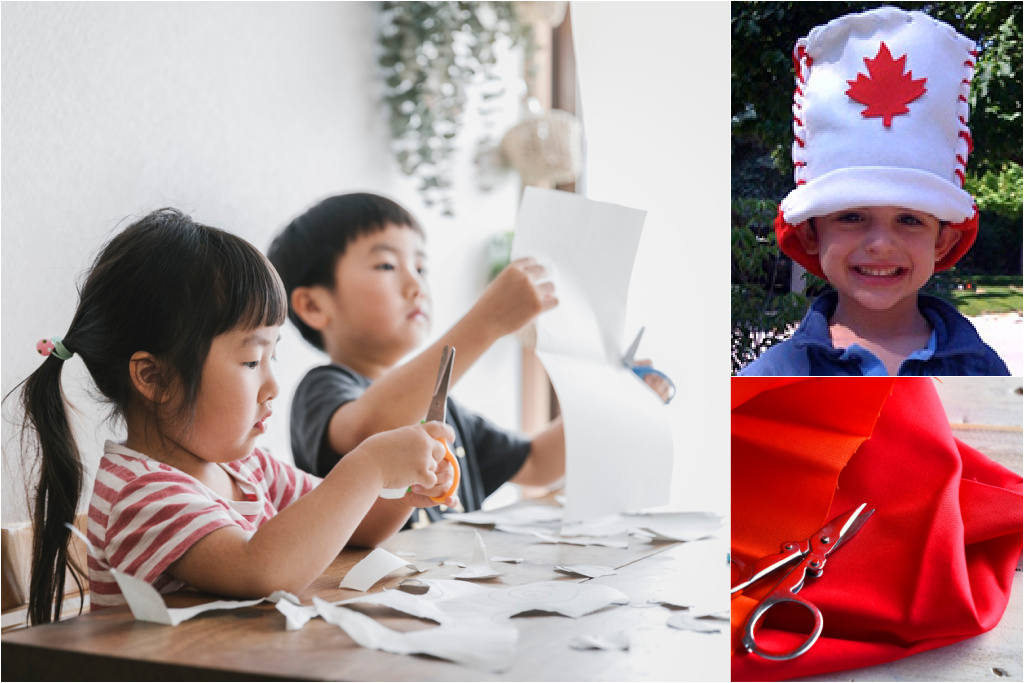
Canada Day Hat Craft

This fun Canada Day hat craft will make your kid a proud Canadian and a proud crafter.
It requires a teensy bit of help from you and the glitter is optional.
To do this craft you will need:
- white glue
- red glitter glue (optional)
- 3 sheets of 8½” x 12” red craft felt
- 2 sheets of 8½” x 12” white craft felt
- sharp scissors
- one-hole punch
- red & white pipe cleaners
- ruler
- pencil
- small plate (approx. 8 cm in diameter)
Parent Prep
- Take two sheets of the red felt and lay on a flat surface. Using the ruler and the pencil, make a faint dot every 2cm along one of the long sides of the felt and one of the short sides. Make sure the dots are at least 1 cm from the edges of the felt. Do this on both sheets of felt.
- Take one sheet of the white felt and lay on a flat surface. Make similar dots with your ruler and pencil on this sheet of felt, but make the marks on both long sides of the felt and one of the short sides.
- Take the other piece of white felt and lay on a flat surface. Using the small plate and the pencil, trace a circle on the felt and cut out using sharp scissors. Using the ruler mark dots 2cm apart around the circumference of the circle keeping the approximately 1cm away from the edge.
- Using the one-hole punch, punch a hole at each pencil dot on all of the felt pieces. Make sure the hole is away from the edge of the felt. Don’t worry if the punched hole doesn’t come away completely—you are just trying to pierce the felt and leave small openings for each dot mark.
- Trace a maple leaf on to the remaining piece of red felt and cut out the shape. A maple leaf approximately 10cm tall works well.
Child Crafting
- Lay the rectangular pieces of felt out on a flat surface so the white piece is in the centre (short side with the holes at the top) and the red pieces are on either side (also with the short sides with the holes at the top). The pieces of red felt should have the long sides with the holes lying next to the white felt. Lace together the rectangles of felt with the red and white pipe cleaners using the holes as your guide.
Parent Crafting
- Once the red and white pieces are laced together to look like a Canadian flag, wrap the felt around your child’s head to measure for size. Leave approximately 5 cms extra to allow for the seam and cut off any excess fabric from the end of the red felt.
- Using the ruler and pencil mark the last two long sides of felt with dots and punch with the hole punch.
Child Crafting
- Lace together the last seam of your hat with pipe cleaners and then attach the circle to the top of the hat with additional pipe cleaners.
- Roll the bottom of the hat to create a brim.
- Decorate the white front of your hat by gluing on the red felt maple leaf. You can add glitter glue details, if you like. Leave it to dry overnight.


