How to Make Your Own Backyard Rink

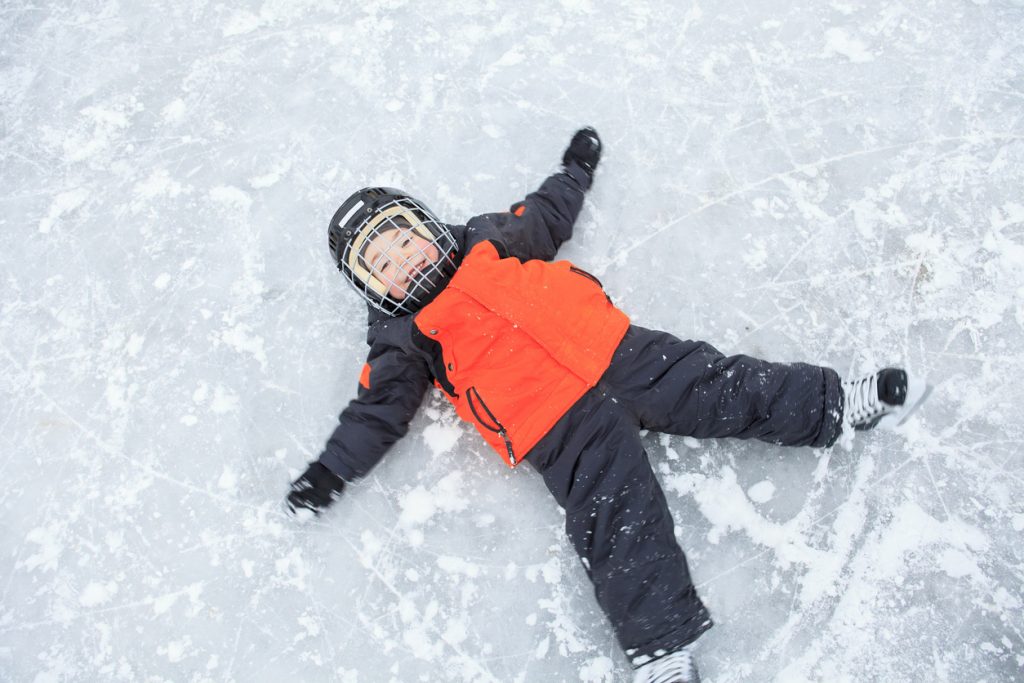
As Canadians head into the official winter season, many families are looking for ways to enjoy the season. Searches for “winter activities” are up 40 percent on Pinterest, and if neighbourhood Facebook groups are any indication, backyard rink kits are going to be the new backyard pool — and fly off store shelves — as a result of the COVID-19 situation.
Before you run out to pick up a backyard rink kit (or the materials to build one), here’s what you need to know to DIY a backyard rink.
How Much Space Do You Need for a Backyard Rink?
While you can make your rink practically any size (or shape) you’ll need some space in terms of a backyard in order to do so. Also, keep in mind that you want a relatively level surface in order to build the best rink. Unlike pool setup, you don’t need to clear the ground of sticks or debris, as you won’t feel anything poking through the ice.
Framing Your Backyard Rink
The first step in building your rink is to frame it — most people use 2×12” boards made of plywood for this purpose. The lumber to frame a 24×40 foot rink will run about $150 — Covid pricing notwithstanding. You’ll then use landscape stakes or 2x4s to hold the boards in place.
Once the walls are built, you can either lay down a tarp to protect the grass, or put water directly onto the grass. If you aren’t using a liner, you will want to build the ice up in layers so it has a chance to freeze before soaking into the grass.
One benefit of using a tarp or liner to contain the water is that you won’t lose any to the ground in case of a melt. It also helps to prevent the roots of the grass below from freezing, which results in damage come spring melt. Expect to shell out anywhere from $50-$200 for a liner, depending on the size. Opt for those that are light in colour so they won’t attract the sun’s warmth and potentially melt your ice on sunny days.
Start filling the framed rink. Since you’re basically creating a backyard pool, this step can take a while — several hours. You’ll want at least five centimetres depth for skating, but you can go as deep as your boards allow.
Ice Ice Baby
The best time to fill your rink is when there are a few cold days in a row, with little to no chance of snow. This is because you won’t get a smooth surface otherwise, and you could even end up with a crust of ice with snow piled on top if the conditions are too warm. The best temperature for rink-building is about -15 degrees Celsius.
Rink Maintenance
For maximum enjoyment, your rink will require some regular maintenance. You’ll want to shovel the surface after every snowfall to prevent sticking, and you’ll need to chip off any freezing rain in order to maintain a smooth skating surface. Giving the ice a fresh topcoat of water after every 20 to 30 minutes of use will ensure it’s kept in peak skating condition. It’s best to use hot water for this as it bonds better and freezes faster than cold water.
End of Season
At the end of the skating season, siphon off melted water using a pump or simple siphon system before lifting up the liner. Getting it up early will help prevent your grass from being damaged. You’ll need a new liner each year, so go ahead and toss the old one when the season is done.
By following the above steps, tips, and tricks, parents can create their very own backyard outdoor rink for safe, socially distanced fun this winter.


