Road Trip Safety Tips from a Mom & Licensed Technician


One of my favourite things to do as we head into the fall season is to take a drive and see the different colours of the changing leaves. My car is one of the last things I want to worry about. If you’re taking a road trip, you’ve got a lot to prepare for. Trip details, where to go, where to stay, what to pack.
Sometimes, the condition of your vehicle is overlooked. As a licensed auto service technician, I always inspect my car before I head out on a road trip. I don’t want to be caught with any surprises! Here are a few tips of how you can get your vehicle ready, before you hit the road.
Have Your Vehicle Inspected – Even If It’s New
This should be done at least two weeks prior to departure, and I highly recommend you visit a mechanical repair shop versus a lube chain (e.g. Mr. Lube, Jiffy Lube, etc). Did you know that the lube shops aren’t certified to inspect safety items? That’s why the only inspections they’ll do are for fluids, filters, and other light maintenance shops. They’re an okay alternative to go to if you want just an oil change, but if you’re taking your vehicle for a long road trip make sure you have the safety components inspected by a proper mechanical auto repair shop.
A question we often get at our repair shop is why an inspection is needed if the vehicle is new. While it’s true that a new vehicle shouldn’t need any work, the reality is that many new vehicles today are recalled or have some sort of warranty issue even within a few months of its release. You just never know. I remember a time when recalls were few and far between, but that’s just not the case now. If you’re taking a long drive, it’s better to be safe than sorry.
You’ll want to take care of the vehicle inspection at least a couple of weeks before your road trip in case there are repairs that need to be done, and/or your shop needs time to source the parts or has a busy schedule. The other reason why you want some additional time is in case there is an issue with the work done, you’ll be around the shop and they can remedy the situation rather than you being stranded 2 hours away.
Time To Prepare Your Vehicle
So far I’ve been talking about what your repair shop can do for you. At least one week before you head out, I would strongly recommend that you check things like tire pressures and fluids. These will probably have been checked during your vehicle inspection, but just in case you didn’t have time to bring your car in for service here are some basic things you could do on your own.
Check Your Tire Pressures

In your owner’s manual, you’ll find the proper tire pressures for your vehicle. It’s also usually listed on a placard in the driver’s door jamb. Always use the specifications listed here – DO NOT use the maximum tire pressure listed on the side of your tire!
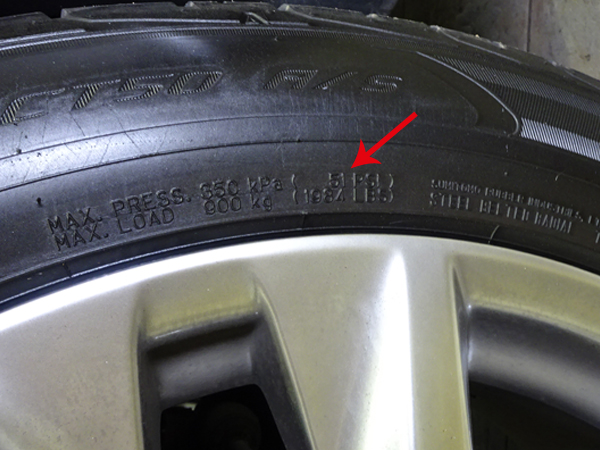
I recently took a 2017 Mazda CX-9 on a 2-hour drive road test. The tire placard says that the tire pressures should be at 34psi (this is what I set them to), while the maximum listed on the tire was 51psi. The tire pressure maximum listed on the tires is a generic number for that specific tire. It can be mounted and used on any vehicle whose specification is less than 51psi. That’s why you never go by the side of the tire, always inflate to the proper tire pressure as stated by your vehicle’s manufacturer.
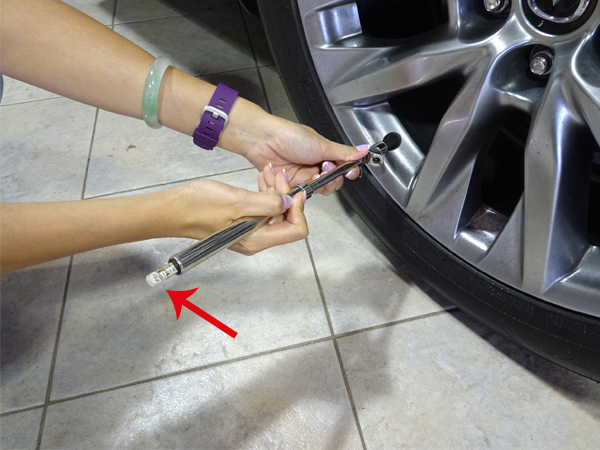
When you check your tire pressures, push your gauge firmly in the tire valve. You shouldn’t hear any more hissing once you’ve pressed it all the way in, this is how you know you’ve got an accurate reading. If you continue to hear hissing, you’re actually letting air out! You can take your reading by looking at the gauge and add/release air as needed. The best time to check tire pressures is when it’s ‘cold’… which just means that the vehicle hasn’t been driven very far yet.
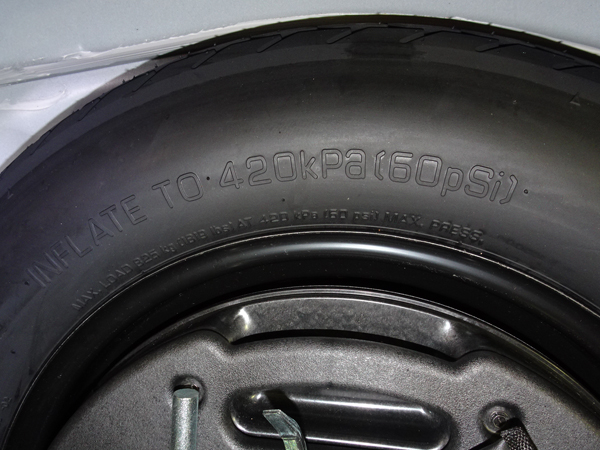
Remember to check the tire pressure in your spare tire (if equipped)! Nothing’s worse than changing a flat tire with another flat (spare) tire. Most vehicles’ spare tire has a higher tire pressure. This is the exception where you’ll need to inflate it according to what is written on the side of the tire. So for the image above, we would inflate the spare tire to 60psi and that is also consistent with the tire placard shown previously. If your vehicle has a tire kit instead of a conventional spare tire, take a read through the owner’s manual and make sure that you have all the components of the kit!
Get To Know What’s Under The Hood
When you open your hood, what do you see? Take some time to look over it before you head out because it can get very stressful if you’re in an emergency and you’re trying to sort out the different components at that time.
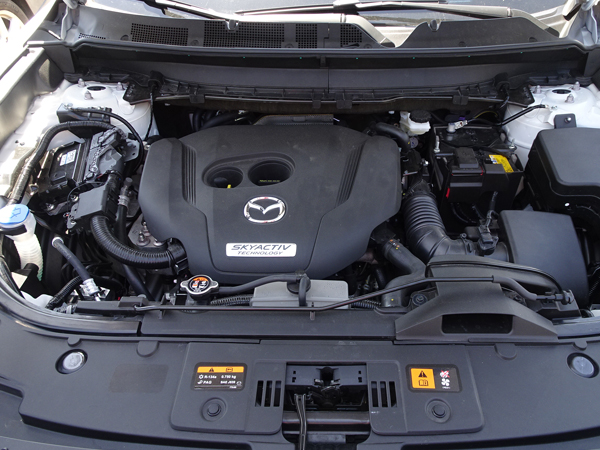
There are few things you can check in your engine bay. For those of you who feel uncomfortable, trust me when I say that once you take the time to get to know your car better, you’ll be comfortable with almost any vehicle!
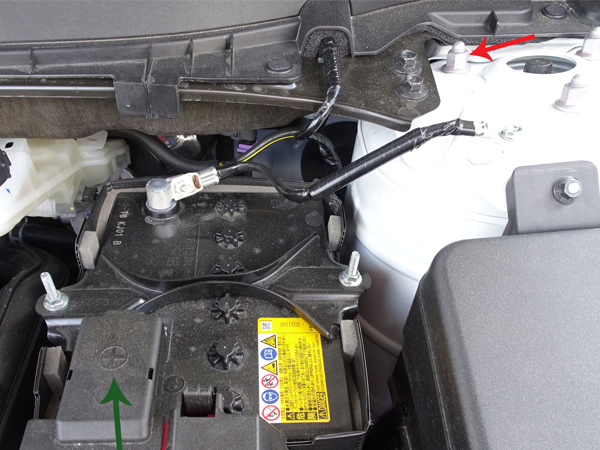
Get to know where your battery is and where the positive terminal is (the one that’s indicated with a + sign – in the image above it’s the green arrow). You’ll want to know where an engine ground is so that you can connect the negative cable there (the red arrow in our image above). There are different engine grounds available in the vehicle, you just want to know where the closest one is that you can easily access. Don’t know where to find one? Read your owner’s manual! It’s usually listed there.
Check Your Fluids
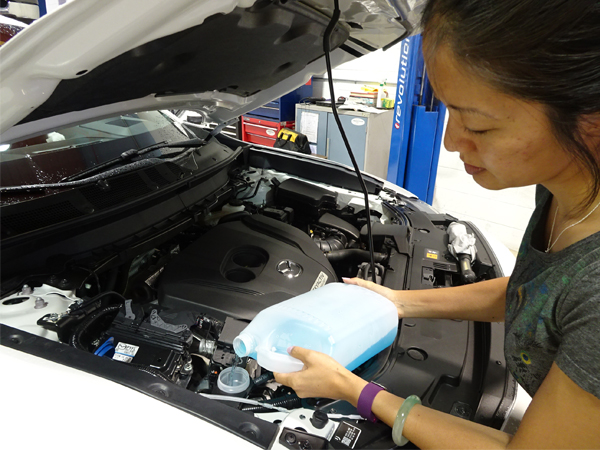
Perhaps the most common fluid you’ll top up is the windshield washer fluid. You probably already know where this is located! Just a quick tip, if you find that you spill a lot while pouring then try to pour with the bottle flat. This evens out the air in the bottle (so to speak) so you have more control of the flow going into the filler neck.

Take a look for your coolant reservoir (if you can’t find it, have a look in your owner’s manual for the location). Most reservoirs are marked with a minimum/maximum line or low/full. Make sure you have enough coolant there so the vehicle doesn’t overheat during your drive.
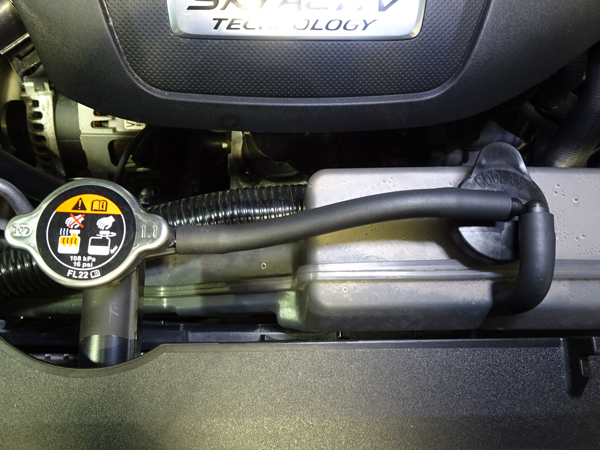
Know where to fill the coolant. Every vehicle manufacturer is different so refer to your owner’s manual. For the Mazda CX-9, you’ll fill in the reservoir itself (black cap to the right in the image above). If you are very low in coolant and need to fill the radiator (cap to the left in the image above) then you’ll want to wait for the vehicle to cool down before you open the cap! Be very careful as the system is pressurized and if you open the cap with the system hot, you could suffer serious burns from the fluid. I usually put a cloth over the pressurized cap while I’m removing it.
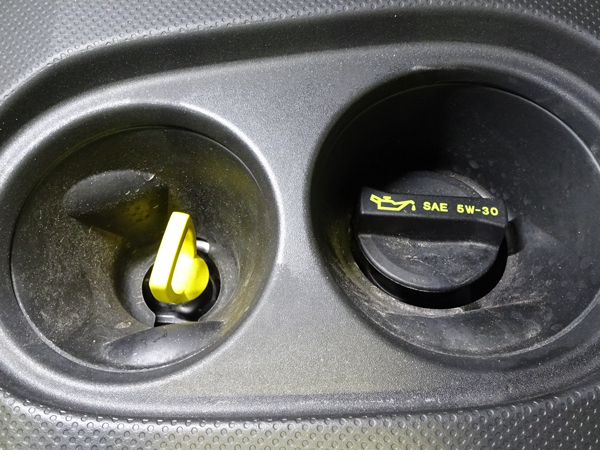
You might want to check your engine oil too. Most vehicle’s engine oil cap will have the specification for the oil right on it (the image shows that the engine oil we use should be 5W30). Do you know how to check your engine oil level? Pull the dipstick out, use a cloth to wipe it clean. Then insert all the way and pull it out again to take your reading. Your engine oil should be at the maximum level. Top up as needed.
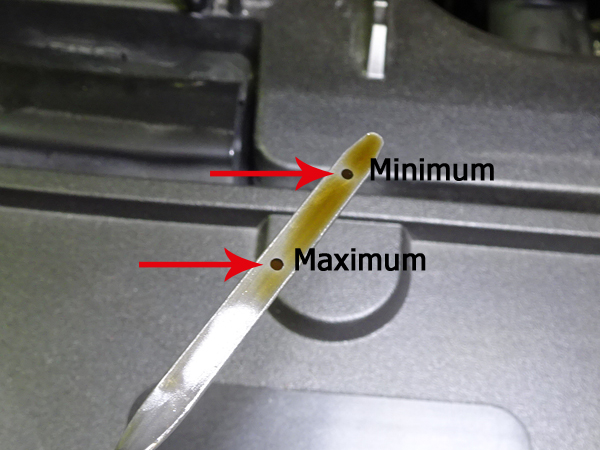
You can see from our picture that the oil is slightly over the maximum level. That’s ok if you happen to overfill a little too much. Nothing catastrophic is going to happen if you’re slightly over but do your best to fill as close to the maximum level as you can.
Final Checks – Lights and Wiper Blades
The last checks you’ll want to do are for your light bulbs and wiper blades. These are good ones for you to do with your kids too! Have them sit with you up front and activate the wiper blades with the washer fluid spraying. Are the wiper blades torn, streaking or chattering across the windshield? If yes, replace them before you leave.
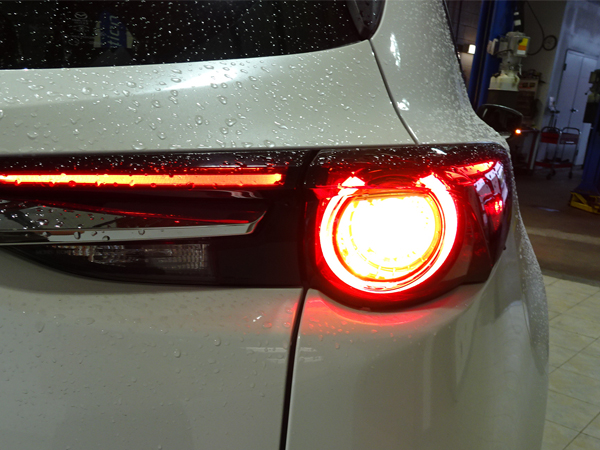
Older kids can help you check your lights. You can turn them on and off and have your kids verify with you if they see the lights go on outside the vehicle. Remember to check your side marker light, high beam, and license plate bulbs too.
Going on a road trip is a fun time, and a great way to spend quality time together with your family. Remember to take care of your vehicle and it will take care of you on your journey.
Happy Road Tripping!