Holiday Entertaining: Mastering the Art of Snack Boards


Back on December 31st, 2017, I declared that this year was going to be the “Year of the Snack Board.” I had just put together a platter of store-bought foods for our New Year’s Eve get-together and marveled at the speed and efficiency with which the food came together. A few weeks later I hosted a kid-centric family birthday party for two of my sons and repeated the snack board-style feast for easy pre-dinner snacking and it couldn’t have been more popular.
I’m clearly not the only one smitten with the style of serving foods though, because this year two new books based on the topic have landed on my desk: Platters and Boards: Beautiful, Casual Spreads for Every Occasion and On Boards: Simple and Inspiring Recipe Ideas to Share at Every Gathering (written by Vancouver area-based mom Lisa Dawn Bolton!).
Both books preach that sharing food on boards is the perfect way to entertain with minimum effort and maximum impact, allowing you to host in style while spending more time with your guests. Sounds pretty perfect for the holidays, don’t you think? I know this is exactly how I’m going to be feeding people all through the month of December.
Strategic vs. Spontaneous Boards
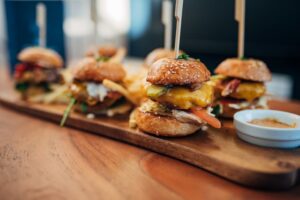
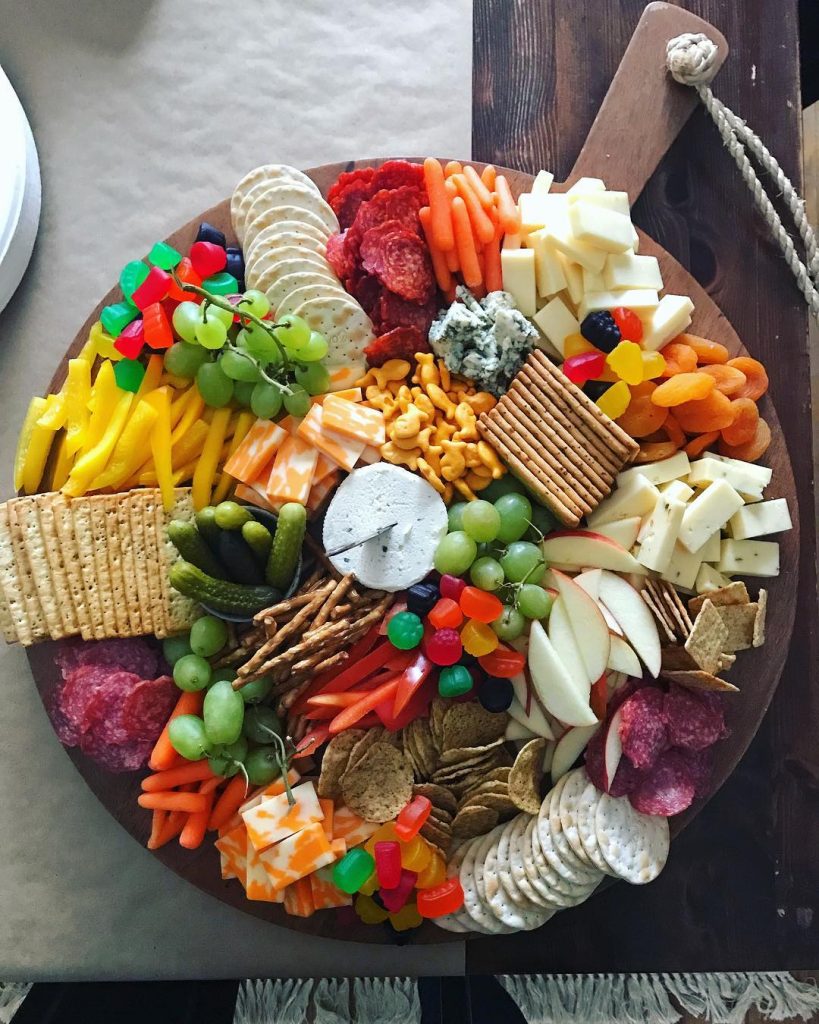
It’s possible to be both strategic and spontaneous when it comes to building your snack boards. If you are being intentional about your board, you likely have a theme (like the boards in the photo at the top of the post) which could be something seasonal (holiday desserts, garden produce, etc.). or even dietary-focused (vegan, gluten-free, etc.).
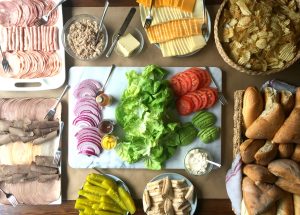
Boards that are more spontaneous are made by doing a deep-dive into your fridge and pantry, and corralling all the things that could be combined to make a snack worthy of serving to your guests. A quick trip to the bulk foods store can round out the remaining items. Knowing which style of board you want to create is the starting point. From there it’s just a matter of determining the quantities required and knowing how to layer on the ingredients.
How Much Food Do I Need?
This answer to this question depends on what role the board will play at your gathering. Are you looking to offer a quick nibble before dinner? Something to whet the appetite, but not act as a meal replacement? Or are you serving your board as the star of your get-together? In other words, should your guests fill their plates to the brim with their hunger completely satisfied?
For those choosing a board as a pre-dinner bite, you should aim for including 4 to 6 bites of food per person. For this type of board, you might want to have 2 pieces of meat, 2 pieces of cheese, a tablespoon or so of spreads or jams and 2 vegetable accompaniments. If you’re planning to have your board act as a meal replacement, aim for 12 to 14 bites of food per person instead.
Tools Required
Wooden and marble boards are widely available these days and can be found everywhere, from book stores to grocery stores to home goods stores, so my suggestion is to pick up a few in a variety of shapes and sizes and keep them on hand (but don’t just reserve them for special occasions – my toddler loves it when I serve him a “snack platter” lunch on a wooden cutting board).
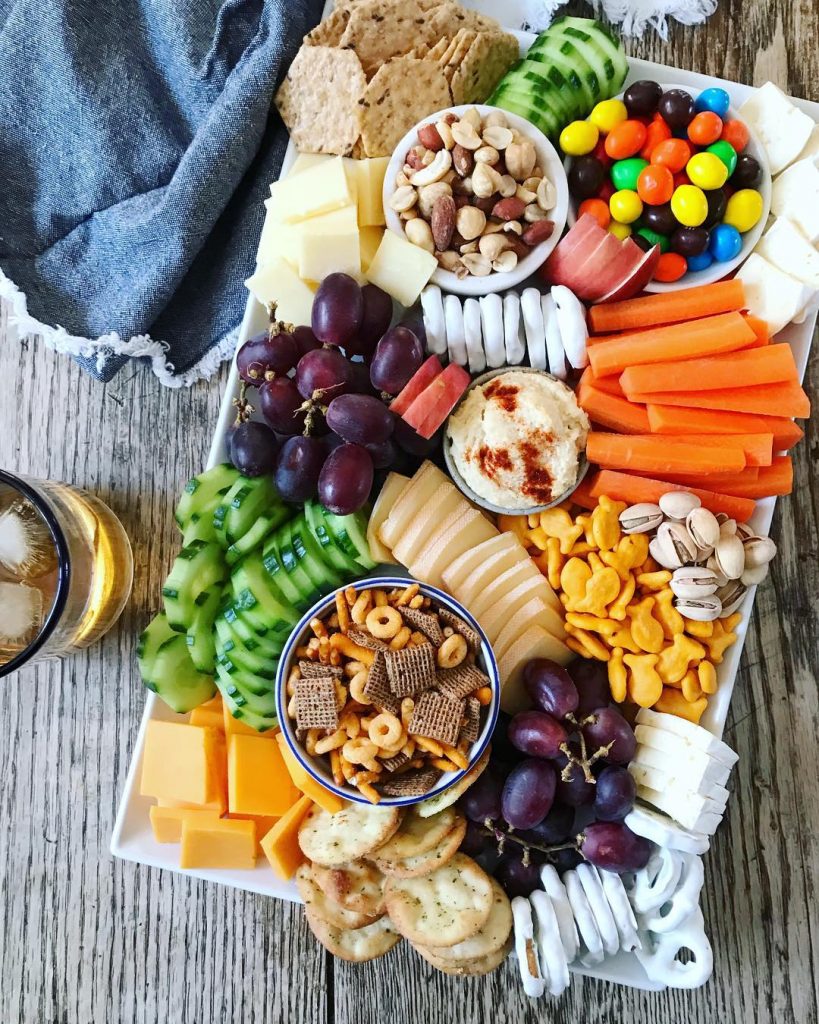
Of course, you can also use ceramic, plastic or glass platters for your “boards” as well if that’s what you have on hand. Essentially, you just need something with a surface large enough to hold the food. I’ve even seen people buy slate or marble tiles as home renovation stores and use those instead, because they are often less expensive than a traditional serving or cutting board.
You’ll also need some small bowls to corral ingredients together or create some separation between ingredients. For example, it’s easier to serve olives in a bowl then loose on a board. Same for dips, spread and jam.
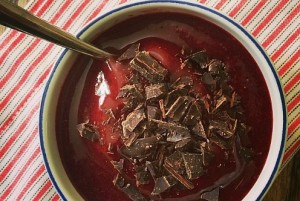
Lastly, you may need to have a few small spoons or cheese knives on hand, depending on what you put on your board. In the dessert board at the top of the article, no small utensils were required.
Tips for Building a Beautiful Board
- The more plentiful a board looks the better, as far as I’m concerned. For pre-dinner or snack boards, I like to err on the side of using a smaller board or platter and packing it tightly with the items on offer. You don’t have to put every piece of food on the board at the same time; you can hold some back and replenish as needed.
- Odd numbers are more visually appealing than even, so keep that in mind when deciding how many cheeses to include or how many groupings of meat to put together.
- Place the biggest items on the board first. Then fill it in with the remaining pieces.
- Go with a very minimalist board, or build one that’s abundant, but don’t create one that falls in between the two styles. It will leave the board looking like you didn’t have enough food to complete it.
- Fresh fruit adds colour and texture to boards, so include them whenever possible (I like grapes, sliced apples and pears, and berries, when appropriate.
- Boards are a GREAT way to feed lots of kids. Most of mine are made with kids specifically in mind and they are never disappointed to find one on the table. Plus, it allows for some flexibility when feeding picky eaters; they are sure to find something to munch on when a board is set out before them.