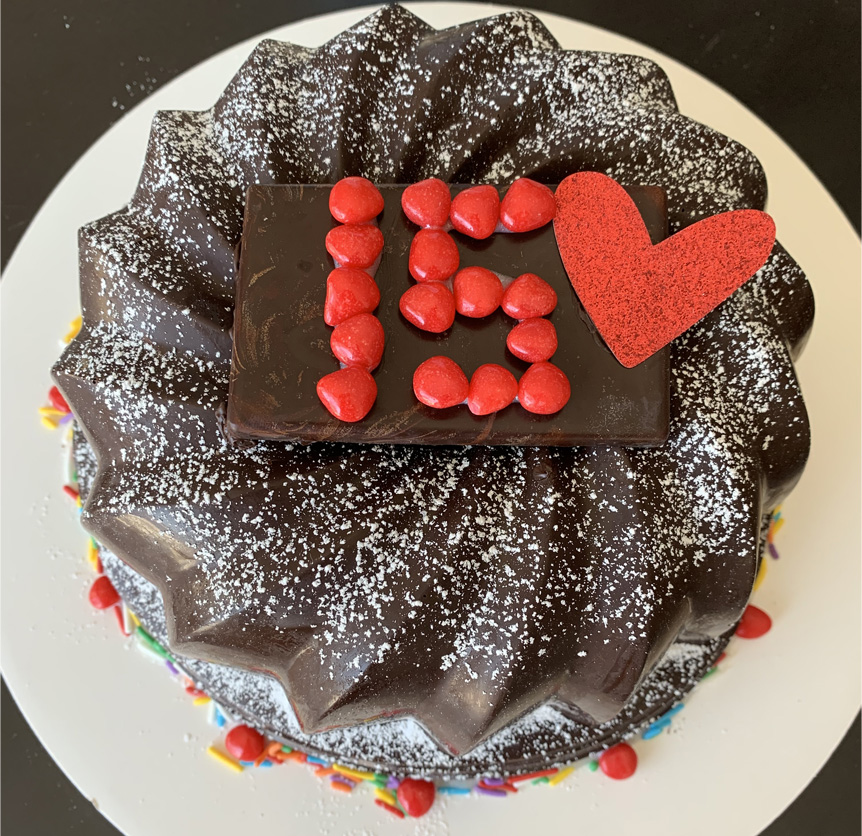
How To Make a Candy-Filled Piñata Smash Cake

Nothing says ‘I love you’ more than smashing a hollow chocolate shaped heart filled with candy… Right?
All joking aside, this new smash cake trend is super fun, yummy, and actually very easy to make on your own! The key is finding the right mold and chocolate.
Here are some tips on making your very own Smash Cake for Valentine’s Day.
Since this activity is so on-trend, there are lots of molds currently available via Amazon or even Canadian Tire. But they don’t necessarily advertise as ‘chocolate molds to make smash cakes.’ Look for these tools in the baking section. Search for silicone but ensure it’s a thin or soft silicone. If the silicone is too stiff, your chocolate will crack when you try and take it out.
Of course, there are specialty stores that also sell molds in all shapes and sizes. Any should work but the more complex the shape the more challenging it may be to remove it.
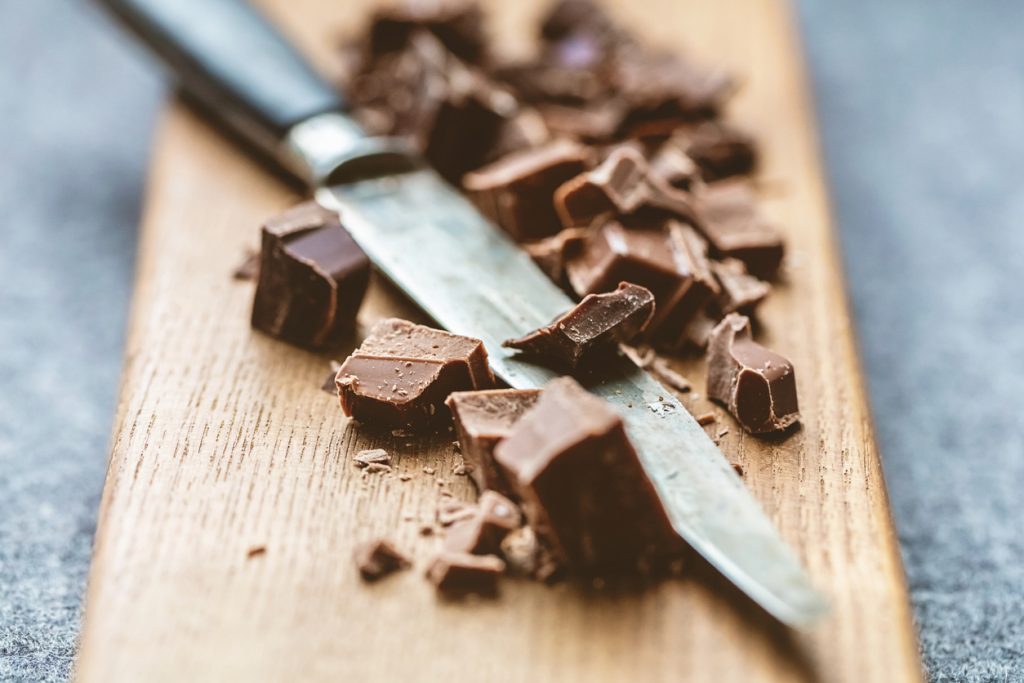
The next tip is the chocolate. If you can’t temper your chocolate or don’t have a double-broiler, do not worry! I melt mine in the microwave! Yep, I’m a cheater. I reduce the heat of my microwave to 50% and slowly melt the chocolate (exact amounts and step by step info below). I do find that chocolate with less or no dairy melts and hardens better. Milk chocolate isn’t ideal but it can work. I recommend dark chocolate.
Ok, now you have the secrets. Here are the step by step instructions. Please note that chocolate measurements will vary depending on the size of your mold and the type of chocolate.
Ingredients:
1-2 cups of dark chocolate
2-3 cups of your favourite candy
Tools:
Silicone chocolate mold
Glass bowl
Measuring Cups
Two spoons
Paper plate, plastic serving tray or cardboard cake board
Instructions:
1. Make sure your mold is clean and dry! If it’s wet the chocolate won’t form properly.
2. Melt 1 cup of chocolate. If using a microwave, reduce heat to 50%. Set time to 3 minutes. At 20 second intervals, open the microwave, stir and then place back in. You do not want to burn your chocolate or let it get too hot too fast. Hence the intervals. Once 98% melted, remove from the microwave, stir vigorously until the last few pieces melt.
3. Using the back of a spoon, slowly layer in the chocolate. The back of the spoon will help you smooth the chocolate. Keep it thin and ensure you get all the cracks. I always pay special attention to the top edges. Those need to be even.
4. Once done, set in the fridge for 15-25 minutes.
5. If you have leftover chocolate, keep it melted by setting your bowl into a larger bowl that has hot water. Or you can just melt it again. If you need more chocolate, measure as required to do one more layer.
6. Melt extra chocolate using the same instructions as above while the cake sets.
7. Remove from fridge. The chocolate will be cold so you need to work quickly. The melted chocolate will harden when it touches the cold chocolate. Add another layer of chocolate. Remember again to ensure the sides/edges are as smooth as possible
Pro tip: Do NOT worry if the chocolate is messy on the inside of the mold. Nobody sees that part! Fill in little gaps with dabs of chocolate. Also, if you make it too thick at the bottom of the mold (which becomes the top when you flip it over) it will be hard to smash. So be careful!
8. Let chocolate set for at least 30 minutes and a few hours if possible.
9. Remove from fridge. Let it sit on your counter for 5 minutes.
10. Very slowly, peel the silicone away from the chocolate. Rotate as necessary to remove it evenly and carefully.
11. Once done, set upside down and fill with your favourite candy.
12. Using a spoon, brush the bottom edges with leftover melted chocolate.
13. Quickly place a paper plate, plastic serving tray, or cardboard cake board on to the chocolate covered edges. Press carefully so the chocolate sticks to the board/plate.
VERY CAREFULLY, with your hand under the top of the cake and other hand in the middle of the board, flip over and you’ll be all set! Store in a cool dry place or in the fridge until ready to serve.
Bonus: If you don’t want to make your own…
Here’s where to get one in Toronto. Smash cakes are available at my shop, Nourish To You, until the end of February in the GTA, post-Valentine’s Day. (Unfortunately, up until Valentine’s Day I’m sold out.)
Also, if you’d like to learn more about the classes and private events Nourish to You is hosting, please reach out. Use code SavvyMom to get 25% off any class or program, even birthday parties!
Nourish To You is run by Alison Burke, a Culinary Nutrition Expert offering cooking classes for tweens and teens, in large groups and small both online and in real life. Find Alison here on Instagram.